Paisley Sweetheart

Thursday, August 9, 2012

A chair to call my own...

I have never really had a teacher's chair.  I either sat in my desk chair or one of the kiddo's chairs.  I wanted to try something new this year that involved my new hobby.  One of my favorite places to go is Rockwall Helping Hands, our local thrift store.  I can usually find pieces that need some love.  Having in mind to upcycle a chair, I would visit with a purpose... that is usually never the case... lol!

I searched frequently for about two weeks and began to get a frowny face.  I just wasn't hearing anything speak to me.  The pieces were either way out of my league (or should I say I wasn't ready to take them on) or just yucky.  I didn't give up, though...and kept visiting.

Then one day, I stopped in on my way home while running some other errands.  As my eyes quickly scanned the store since I was kinda in a hurry, no time for strolling, I noticed bar stools.  "Nah, they never have those," I said.  I headed over to check it out.

Well lo and behold!!  A pair of wood bar stools!!  Granted, they were rough...but for $15 a piece, very doable!  So, I picked out the best ( I use the term lightly) and checked it off my list.  Here it is...

Yes, your eyes are seeing it...vinyl on the chair pad!
Okay, how hard could it be to reupholster a chair??  I am guessing it all depends on whatcha got.  Let me tell ya, this stool did not want to play nice!  It took Fire Jack and me (we had to rotate because our hands were falling off) almost an hour to get all the staples and 7...yes... 7 layers of nasty fabric, vinyl, and padding off.  It was g ross!!  That was all I could do the first night... yuck!

The next day I approached my sad stool with some hope... I could make it fab!  I headed to Jo-Ann's for some fabric.  I was completely in overload with all the fabric choices.  I am sure I drove my BFF CrAzY with all the photos of fabric choices...hehehe!  Anyhoo... I found a super cute blue and white coral outdoor fabric that would bring a sweet twist to the other beachy colors in my room (at 50% off, too..woo hoo!).


I needed to get some new foam since the original foam was just gross... I headed to Hobby Lobby for that because I had a coupon!  Yay!  I decided to invest in the higher priced foam.  I wanted something with staying power because this would get some use being in a classroom.  I wound up purchasing this fancy foam...


Word of warning:  electric knife or bust to cut this bad boy!!  I learned the hard way...

When all was said and done, I had this beauty staring back at me...


I patted myself on the back at my first attempt at upholstery.  This is where my ambition took over... I wasn't pleased with the look of the fabric on the flip side.  I think I was still traumatized by the original seat.  Hmmm...what about putting cord around the fabric?  Why not!

I found some fab hot pink cord at Hobby Lobby that just happened to be 40% off...I can handle $2.57 for that!  After a little hot glue and a few minor burns on the pinkie... this is the result of being overly ambitious...


I just LOVE how it turned out!!  I was just (still am) beside myself!!  The colors are sooo cute together!

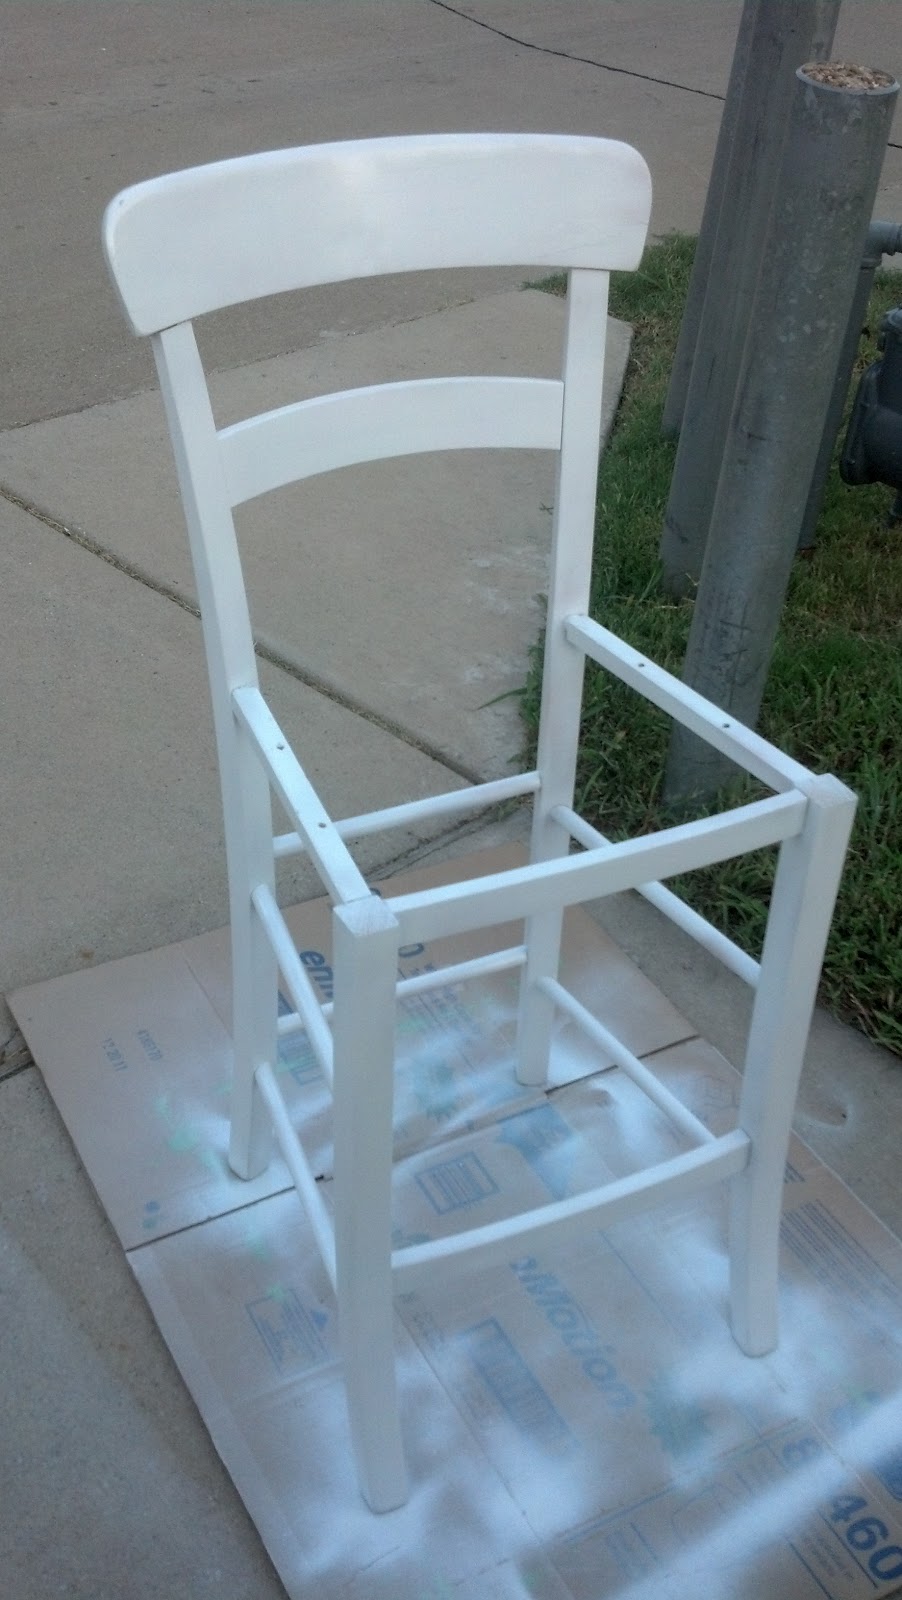
Okay, now comes the paint.  I wanted glossy white.  I mean really, what else would look fab but let the fabric be the star?!  I was super nervous about using spray paint, though.  Had never done a project with spray paint, but had seen some really bad jobs!  The guy at the Depot recommended a spray paint trigger... a what???  This is what he handed me...


I gotta say, a very, very wise $2.50 investment for smooth and not-so-tiring spray painting.  My little finger tips were thankful.  I primed the chair and put 3 nice coats on the stool frame.  I sanded lightly any paint drips.  Surprisingly I did not have as many as I was planning on... yay!


It was super humid, so I let it dry a 3 full days before putting the seat back on.  Okay, heart is racing as I prepare to show off my first attempt at a bar stool... drum roll please...


Love, love, love!  I look forward to showing off my new stool in my classroom.  The picture in the cave does not do the chair cutey justice.  I will post a new one when it is shining bright in the classroom.  When all was said and done, this baby cost me around $30 bucks.  Not bad! 

Speaking of classroom... oh boy!  When does school start again?!


Photobucket

Thursday, August 2, 2012

Now that is some console chic...

Boyhowdy was this media console a process!!  Let me ramble for just a moment... I was laying in my bed one morning and heard a strange thump.  It didn't seem spooky, more like a weird house creak, so I went back to sleep.  A little later, I woke well rested and ready to finish the console.  Last sanding was finished and final coat awaited...  I was pumped and ready to work.  I walked into the garage and noticed a hole in my line of sight where Fire Jack's bike used to hang from the ceiling.  Strange, but whatever.  I walked around my car and let out a massive gasp and then several explicatives... FIRE JACK'S BIKE HAD FALLEN ON MY FRESHLY PAINTED PROJECT!!  My heart broke when I saw the scratches on the top and sides...guess the bike took a real tumble.  Luckily, there was no major damage... so it took a little longer than expected.  Ugh!!

Okay, so that is the drama.  Now, how my beautiful console came to be...  I wanted our media console to be a statement in "the cave".  Color was going to be super important!!  Enter Glidden's Lucky Shamrock.  It is a vibrant, welcoming green.  It truly pops in our living room.  At night, the green becomes surprisingly rich.

I started by sanding and priming.  Nothing spectacular.  I put nails in the drawer holds so the holes didn't disappear when I painted.  I sanded in between each cost to make sure it was nice and smooth.  I decided to only paint a thin coat in the swirls.  It covered but didn't completely mask the original gold tones.  I slathered on four total coats.  If you count the areas that were injured by a flying bike, some areas have a whopping 8 coats... ouch!  Nonetheless, the paint turned out spectacular I must say.


After the painting and emergency touch ups, I let the console dry about 2 1/2 days.  It was super humid during this project, so I wanted to make sure it was cured properly.

During this time, I searched for authentic French Provincial drawer pulls.  The hardest part of the search was making a decision without breaking the bank.  Then look what I found at Ansaldi and Sons....


So perfect!!  The drawer holes were 2 1/2 center to center which was completely odd, so I was super excited when I found these babies... They arrived in about a week, and the customer service was top notch!  Big kuddos!

I put the pulls on as soon as I could.  Well, like I said earlier, this project was a process...  Fire Jack brought the media console in, we centered in the space, then gently put on our TV.  So where is the cable box going to go??  Okay, don't panic.  Time for an audible, Peyton style... how about a riser??

Just so happens we were getting rid of an old TV stand in our office.  With a little cutting, I had this little guy to work with.


By no means was this going to work on top of our Lucky Shamrock console.  Luckily, I had some leftover paint.  A sanding we a go...

After sanding and three coats of paint, I wanted to add some flavor to our riser.  I found some super cute and trendy trellis paper in a navy and cream color scheme at my favorite place, Hobby Lobby.  Grabbed the Modge Podge  and worked some magic.  Here is how it turned out...


I was very pleased with how the riser turned out and would be more than happy to add it to the console.

Let's see, painted, drawer pulls, riser... is it ready??!!  Wait for it...... Say hello to my delicious media console!


Yummy!  WOW!!  This piece came a long way (check out the original post)...
So whatcha think?  A statement or what?! :)

Photobucket

Saturday, July 21, 2012

Adding a little spice...

Our new house has an all neutral template...tans, creams, and so forth... Our kitchen was just begging me for more color!  I had already purchased some super fun (and of course bright) towels, but that only packed a small punch.  Still begging for more...hmmm...put the thinking cap on...

I was driving through my neighborhood and noticed a pile of small wood items on the curb.  My curiosity got the best of me, and I had to stop.  Low and behold, sitting in the pile, was a cute (but drab) spice rack.  Being the frugal gal I am, I usually do not pass up free.  So, in the trunk it went.  Fire Jack at this point thought I was crazy!  What in the world was I going to do with this sad spice rack...But since it was free, he had no complaints...

When I got home, I wasn't too sure if I was going to use it for a spice rack.  But after visiting the spice cabinet while cooking dinner, the decision was pretty much made...spice rack!

Poor spice cabinet... so boring and unorganized...
The beginnings of something spicy...

Luckily the rack was not a weird shape or material, just old wood that needed love.  Definitely screams for color and pattern... I decided that I wanted to paint the rack but line the inside of the "shelves"...off to Hobby Lobby!

My wallet was so excited when I saw that scrapbook paper was 50% off that week...well, that takes care of the liners!  I purchased 3 pieces of a gorgeous vintage looking paper...and at 30 cents a sheet, I was super giddy!


While browsing the paint isle, I got a little daring and decided to pair this with a turquoise... now that is the color and texture my kitchen needed!  Unfortunately, Hobby Lobby did not have what I needed, so I headed to the big orange building...

After a bout of dizziness on the color wheel, I had found the perfect match... say hello to Turquoise Bay.  WOW!  It was b right!!  Snatched up a sample size... home I went.

I began by sanding and cleaning the wood.  Then, I cut the paper to the size of the shelves and the back of the rack.


I removed the paper slices and set them aside for late... I had painting to do!  I started with one coat and let that dry for about an hour.  Then , I repeated that process 2 more times.  I really wanted thick coverage. 


We refer to our house as "the cave" because it is always on the darker side.  This color was definitely breaking through the darkness!

After letting the paint dry overnight, I was ready to line the shelves.  I grabbed my trusty Modge Podge and got to work.  Precutting the pieces was a big help!


I put a nice layer directly on the wood and laid the pieces.  I used a brayer to roll smooth.  I let it dry for about 45 minutes.  I then came back and added a nice layer on the top to seal it all in.  And.....


Voila!  Snazzy, but not yet spicy...I felt like it was missing something...  as I scratched my head, a little light bulb went on... what about "feet"?  Yes, feet!  Back to Hobby Lobby... Found some sweet little finial caps and a picked up Americana in Soft Black.  Easy trip only cost me a little over $2.00.


I painted to caps with the soft black and waited about 45 minutes to dry.  I then applied each on to the corner using the always handy and trusty Gorilla Glue.  And drum roll please....


Much better!!  Next step, load up the spices...


The perfect little punch in the kitchen... and for around $6 bucks for the entire project... definitely spicy!

Photobucket

Monday, July 16, 2012

New kid on the blog...

Setting up my blog has been fun, but challenging.  Super new at it, so had lots of questions!  Finding a background that was soo me was first on the list!  I found a FAB site to help me out on just about all things cute for Felice donna... The Cutest Blog on the Block.  I just love, love, love the backgrounds and tutorials.  My new background is awesome!!  If you are a newbie like myself, head on over...such a help...not to mention outstanding goodies!  Next blog venture, fonts and a signature...

Sunday, July 15, 2012

Need some console chic...

When we moved into our new casa, we treated ourselves to a new flat screen.  Yes, I am just now venturing into the realm of flat screens... The TV in our last house was super old and super big, but luckily it fit into the fabulous built-in entertainment cabinet.  Don't have that luxury in the new place.  This is what we have now...


Yuck!  While I don't mind the table so much, the cords and chaos are driving me NUTS!  Thus began the search for the perfect media console...

The ones I was finding at local electronics and furniture stores just weren't doing it for me.  They are either waayy to low, far out of the budget, or just plain boring.  Why not take my new found interest in upcycling and put my own flavor into our media console??  So that is how project #2 came about!  Now a different search began...finding the perfect piece to work some magic...off to the trusty Craigslist for this venture...

Craigslist did not prove very successful in the search (think that was more my impatience if anything).  I had heard about a cute antique mall called Fuffiz.  Hmm...needed a truck for sure...was going to need Fire Jack.  After bribing Fire Jack with sodapalooza and dinner, got the truck and a ride to Arlington.  Yippee!

After a looong traffic ride, we finally made it.  Super cute place.  Loved browsing all the goodies.  While perusing the Lona Grace booth, I heard Fire Jack's voice from the back of the store, "Found it!"  What?  Fire Jack found the needle in the console haystack??  I hurried my little feet to the far back booth... sure enough, there it was... French provincial in all its needing-just-a-little-love beauty...


Love, love, love and had to have it...Good eye Fire Jack!  To my excitement, the booth was having a sale that day.  Really?? Sweet!  Load it up!  We had the bones of our new media console and came in well under our budget.

Project #2 here I come!  Wish me luck...this is going to be a tad more work than the storage organizer...